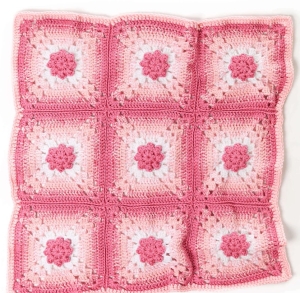
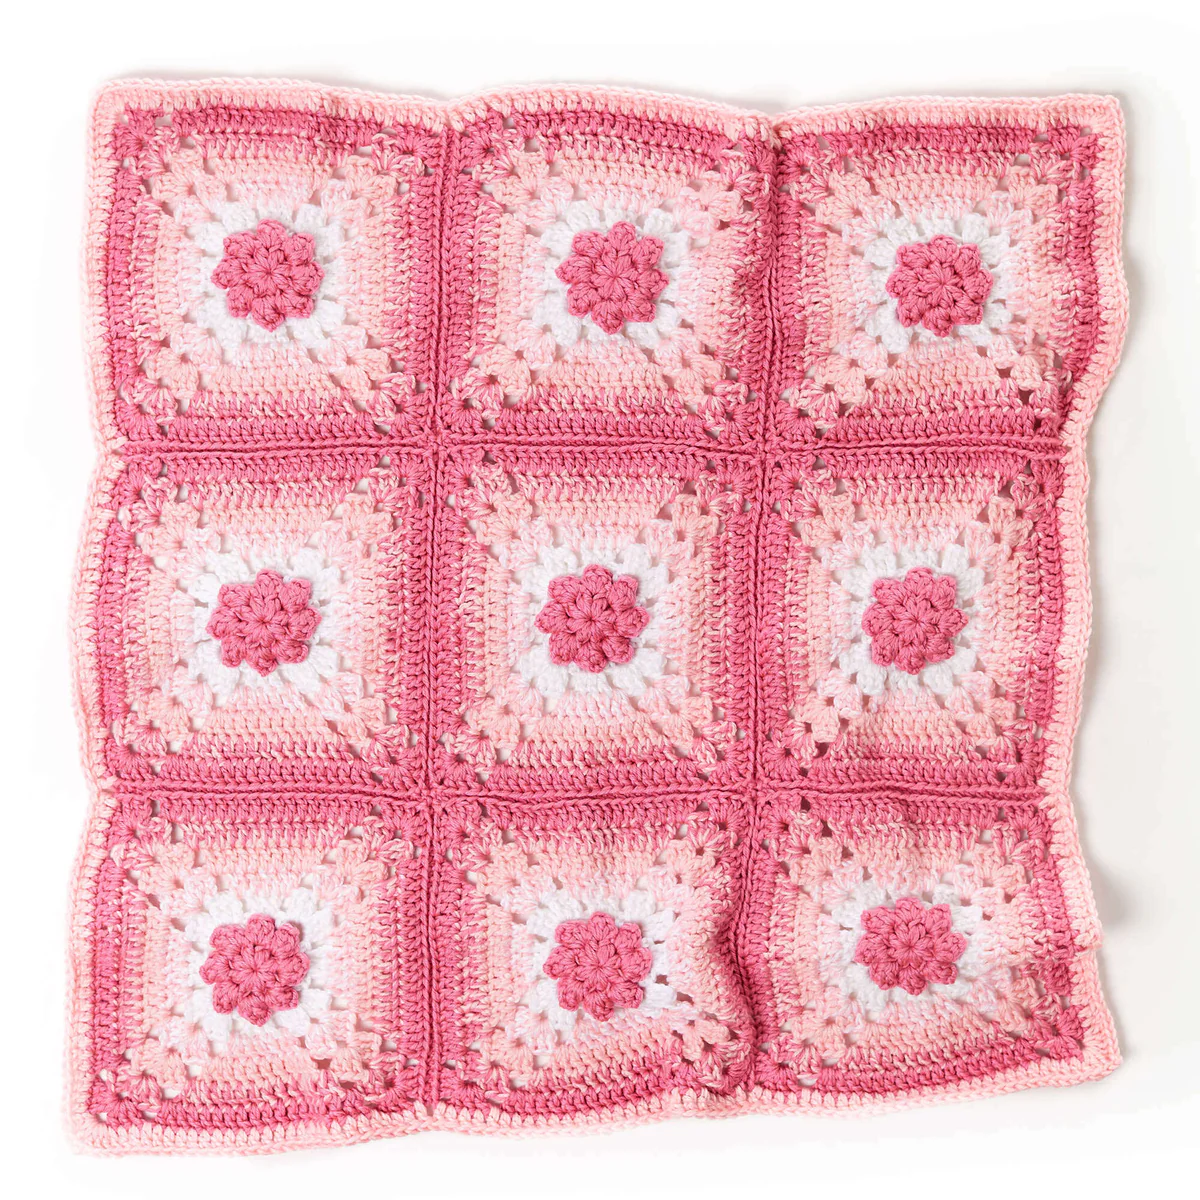
Joining the motifs is where everything comes together, quite literally. Arranging them in neat rows and connecting them carefully transforms your collection of flowers into a complete blanket. This stage feels almost magical—like watching a garden come to life.
And then, of course, there is the finishing touch: a simple edging that frames the blanket and gives it a polished, cozy look. It’s a small step, but one that makes all the difference, adding that final bit of care and attention that handmade pieces carry so beautifully.
Materials
You will need:
- Soft baby yarn in three colors
- Crochet hook US L/11 (8 mm)
- Yarn needle
This project is worked holding two strands of yarn together, which gives the blanket a soft and cozy texture.
Finished Size
- Approximately 36″ x 36″ baby blanket (as shown on page 1)
Stitches (US Terms)
- ch = chain
- sc = single crochet
- dc = double crochet
- hdc2tog = half double crochet 2 together
- sl st = slip stitch
- popcorn = textured cluster stitch
Special Techniques
Adjustable Ring (Magic Ring)
- Wrap yarn around your finger
- Insert hook and pull up a loop
- Chain to secure
- Work stitches into the ring
This creates a neat, tight center for your flower.
Popcorn Stitch
- Work multiple dc in the same space
- Remove hook, insert into first stitch
- Pull loop through
This creates a lovely raised “flower petal” texture.
MAKING THE FLOWER MOTIF
You will make 9 motifs in total.
Round 1 (Flower Center)
With main color:
- Work into a magic ring
- Alternate between hdc2tog and chains
This creates a soft circular base.
Round 2 (Petals)
- Work popcorn stitches into chain spaces
- Separate each with chains
Now your flower begins to bloom beautifully.
Round 3 (Spacing Round)
Join a new color:
- Work single crochet into spaces
- Chain between stitches
This creates open spaces around the flower.
Round 4 (Forming the Square)
- Work groups of dc stitches
- Create corners using (dc, ch 2, dc groups)
This transforms your flower into a square.
Rounds 5–8 (Growing the Square)
Continue building the square:
- Add dc stitches along each side
- Work corners in the same pattern
Each round makes your motif larger and more structured.
As noted on page 2, color changes can be made by combining strands for a soft ombré effect.
ASSEMBLY
Now comes the lovely part—bringing everything together.
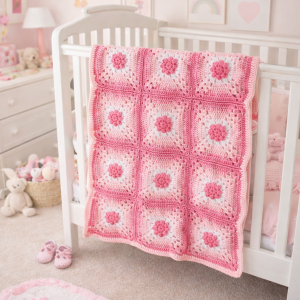
- Arrange motifs in a 3 × 3 layout
- Place wrong sides together
- Join using slip stitch or sewing
Take your time here, dear—this is where your blanket comes to life.
EDGING
To finish:
- Join yarn at any corner
- Work dc evenly around the blanket
- Create corners with (dc, ch 2, dc groups)
This gives a neat and polished border.
FINAL TOUCHES
- Weave in all ends carefully
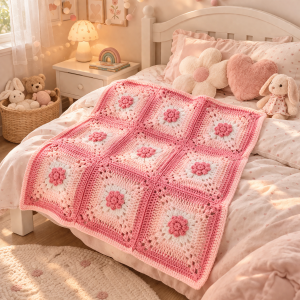
- Gently shape your blanket
And just like that… your little garden is complete.
Fancy Flowers Baby Blanket
As we come to the end of our time together, I hope this lovely Fancy Flowers Baby Blanket inspires you to pick up your hook and create something full of love. Crochet is not just about the stitches we make, but about the quiet moments, the memories, and the warmth we weave into every piece.
Thank you for being here with me at Grandma’s Crafts, my dear. And don’t forget to explore our other articles, there are so many more cozy patterns and gentle inspirations waiting just for you.