If you are new to crochet, don’t worry about making everything perfectly tight. Just try to keep your stitches fairly even.
Step 1: Create the Beginning Ring
Begin with a magic ring.
If you are not comfortable making a magic ring yet, you can use this easier method:
Chain 5, then join the last chain to the first chain with a slip stitch. This creates a small ring in which you will work your first stitches.
Make sure the center opening is large enough for your hook to comfortably enter.
Step 2: Make the First Round
Ch 3.
This chain counts as your first double crochet.
Now work 15 dc into the center of the ring.
When you finish, you should have 16 double crochets in total, counting the beginning chain-3.
Join with a sl st to the top of the beginning ch-3.
What you should see
At this point, you should have a small circular shape. This will become the foundation for the angel’s upper section.
Don’t worry if the circle looks a little loose. You can gently tighten the magic ring or adjust the beginning ring later.
Step 3: Shape the Next Round
Start with:
Ch 3.
This counts as your first dc.
Work 1 dc into the same stitch.
Then work 2 dc into the next stitch.
Continue working 2 dc in each stitch around.
Join with a slip stitch at the top of the beginning chain.
Beginner Tip
When a pattern says 2 dc in the same stitch, simply place your hook into that stitch twice, making two complete double crochets.
You are increasing the number of stitches so that the piece begins to spread outward.
Step 4: Make the Larger Wing Section
Begin with:
Ch 3.
Again, this counts as your first double crochet.
Work another dc into the same stitch.
Continue around by placing 2 dc in each stitch according to the established increase pattern.
As you work, the piece will become wider and more open.
When you reach the beginning, join with a slip stitch.
Fasten off and cut the yarn, leaving a small tail that can later be woven into the work.
The upper portion of your angel is now complete!
Step 5: Begin the Angel’s Body
Now we are going to use the middle portion of the piece to start forming the angel’s gown.
Look at your previous round and locate the center area.
Move a few stitches toward the side as needed so that your new row begins in the appropriate position.
Attach your yarn with a slip knot.
Ch 3.
This counts as your first dc.
Work another dc into the same stitch.
Continue making pairs of double crochets around the designated section, following the curved shape of the previous round.
You should now have a smaller section compared with the wide wing portion.
This reduction is what begins to give the angel her body shape.
Step 6: Add the V-Stitches
Now we’ll create the pretty openwork that gives the angel’s gown its delicate appearance.
Start with:
Ch 3.
Skip the first dc.
In the space between the next pair of double crochets, make:
1 dc, ch 1, 1 dc
This is called a V-stitch.
How to recognize a V-stitch
It looks like a little letter “V”:
dc – ch 1 – dc
Continue working a V-stitch in each appropriate space across the row.
At the end, work a dc into the turning chain.
You should have a series of V-shaped openings across the row.
Step 7: Make the Double V-Stitches
The next row gives the angel’s gown more fullness.
Begin with:
Ch 3.
Skip the first dc.
In the chain-1 space of the V-stitch from the previous row, work:
2 dc, ch 2, 2 dc
This creates a fuller version of the V-stitch.
Continue working the same stitch combination into each V-stitch space across the row.
Finish with a dc in the appropriate turning chain.
Take your time here
This row can look a little unusual if you’re new to crochet.
Remember:
2 dc + ch 2 + 2 dc = one double V-stitch
The chain-2 section creates the open center of the stitch.
Step 8: Add Another Decorative Row
For the next row, we’ll add double crochet stitches between the larger V-stitches.
Begin with:
Ch 3.
Skip the first dc.
Work 1 dc into the next stitch.
Then, inside the chain-2 space, work:
2 dc, ch 1, 2 dc
Continue with 1 dc in the next stitch, followed by the same group inside the next chain space.
Repeat across the row.
Finish with a dc in the turning chain.
You should now see the angel’s gown becoming wider and more decorative.
Step 9: Finish the Bottom of the Gown
Now we will give the bottom of the angel a neat finishing edge.
Begin with:
Ch 2.
Work hdc in the back loop only (BLO) around the lower edge.
Working through the back loop gives the edge a subtle ridge and helps define the bottom of the gown.
Continue with hdc stitches around until you reach the beginning.
Step 10: Shape the Angel
The final step is to bring the lower part of the gown together so the angel can stand or keep her graceful shape.
Fold or gently curve the skirt portion into the desired position.
Use slip stitches to join the appropriate edges of the skirt together.
Do not pull the stitches too tightly. You want the bottom to keep a soft, rounded shape.
Once everything is joined, fasten off.
Step 11: Weave in the Ends
Thread your tapestry needle with the remaining yarn tails.
Carefully weave each end through several stitches on the wrong side of your work.
Trim the excess yarn.
Take a moment to gently shape the angel with your fingers.
And that’s it!
Your Christmas Angel Is Finished!
Look how sweet she is!
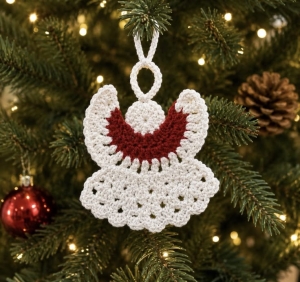
This little crochet angel makes a lovely handmade Christmas ornament and is also a wonderful project for using small amounts of yarn.
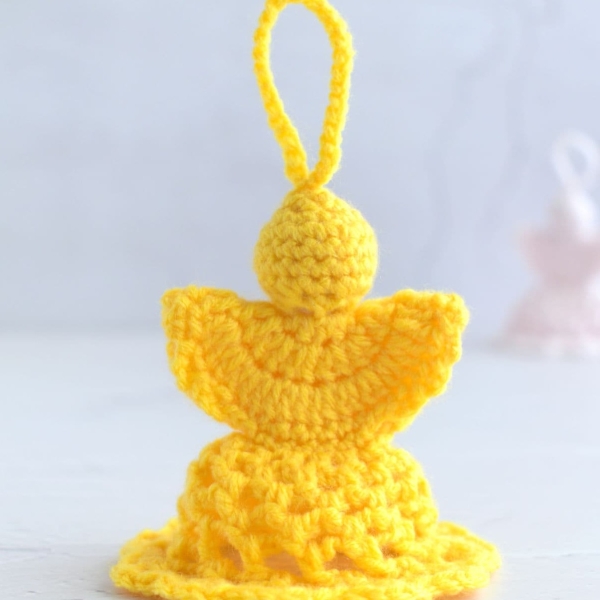
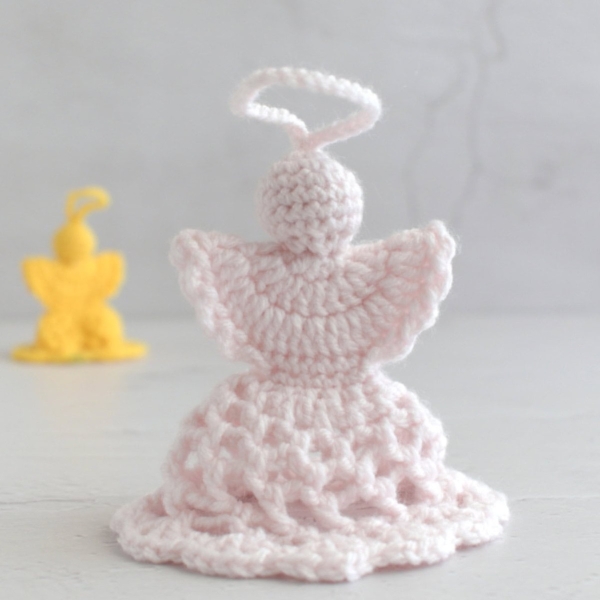
You can make several angels using different colors and finishes. White gives a classic snowy appearance, while metallic or sparkly yarn can create a beautiful festive effect.
You could even add a small hanging loop at the top if you would like to place your angel directly on the Christmas tree.